HOW TO ACCESS AN ATHLETE'S ACCOUNT AS A DELEGATED USER
This guide provides step-by-step instructions on how to access an athlete’s account as a Delegated User. By following these steps, you will be able to navigate through the necessary dropdowns, icons, and fields to access and manage an athlete’s account effectively.
1. Open Athlete Connect on your mobile device, computer, or tablet. It’s important to note that an athlete must enroll you as a delegate before you will have access to their account.
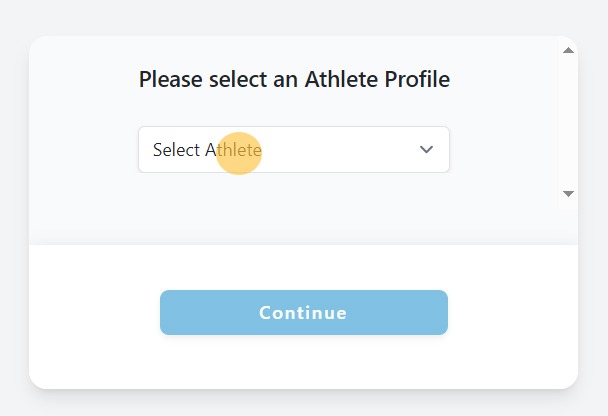
2. Once you log in, you will be presented with a list of athletes who have listed you as their delegate. You can serve as a delegate to multiple athletes.
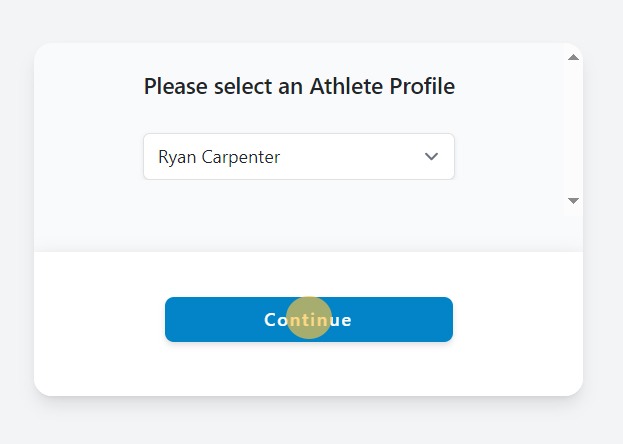
3. Select the athlete account you wish to access and click the “Continue” button.
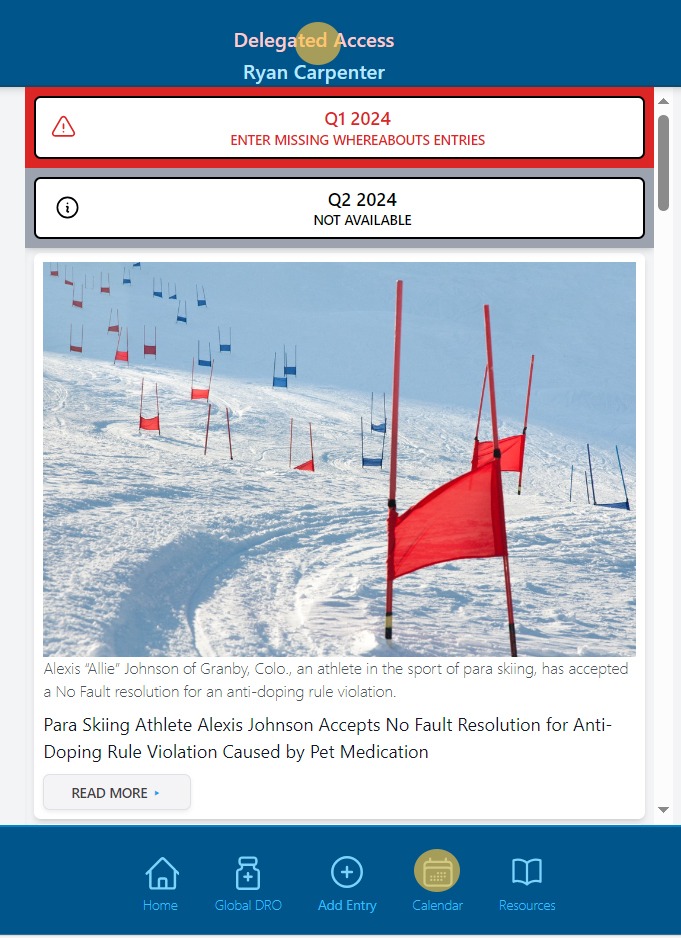
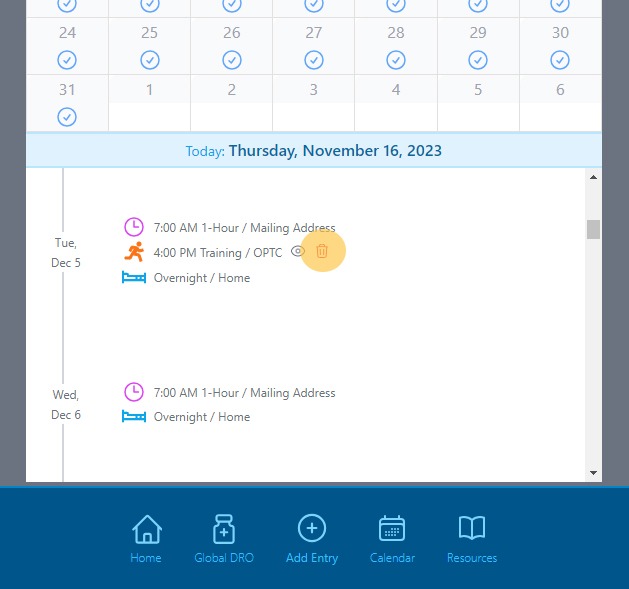
4. You will now see that you have Delegated Access to the athlete’s account. To view their current Whereabouts, navigate to the “Calendar” icon.
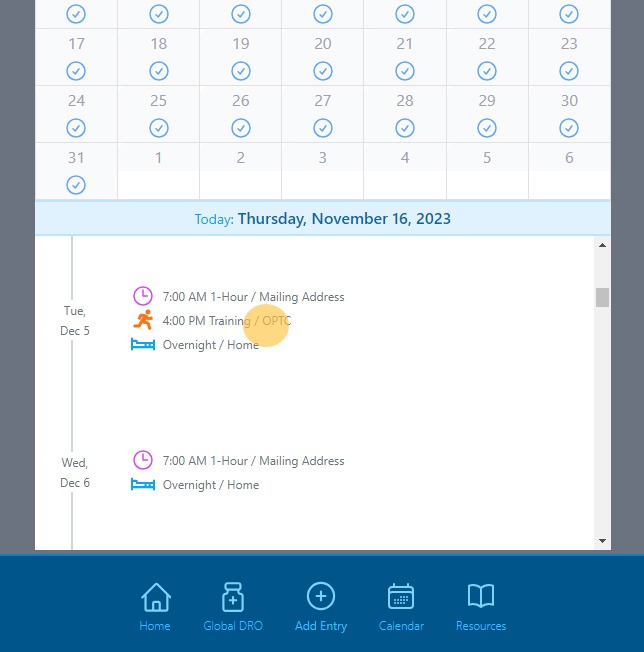
5. You can view, delete, and add to their calendar from this screen.
6. Click an entry and then click the trash can icon to remove an entry from their calendar.
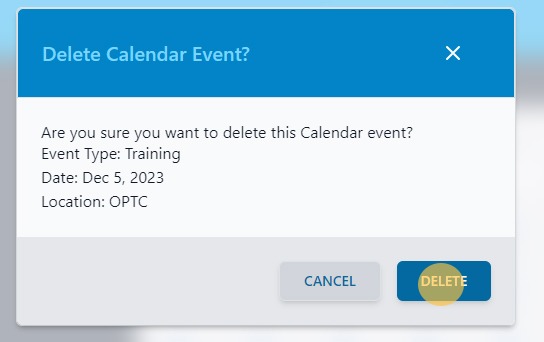
7. Confirm that you wish to delete the entry from their calendar by clicking the “Delete” button.
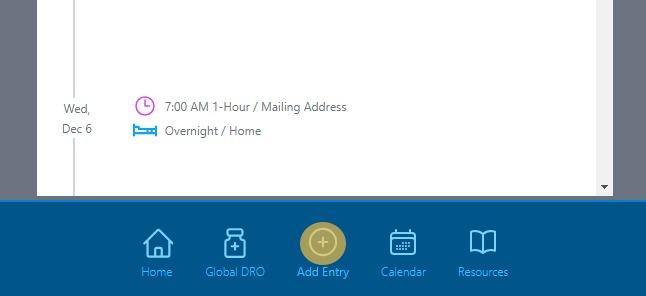
8. To add a new calendar entry, click the “Add Entry” button.
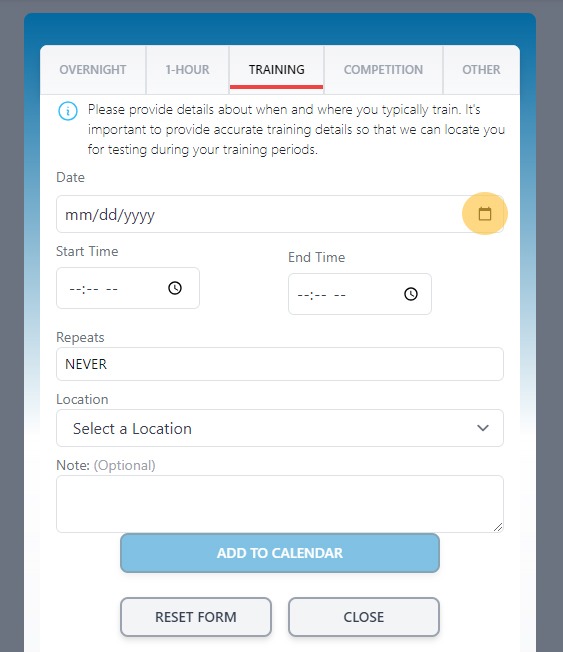
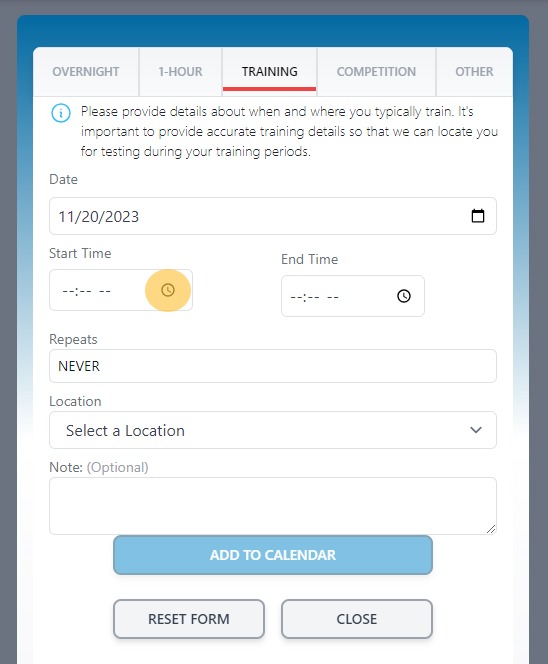
9. Navigate to the appropriate tab, such as “Training.”
10. Click the “Calendar” icon to enter the start date for the new entry.
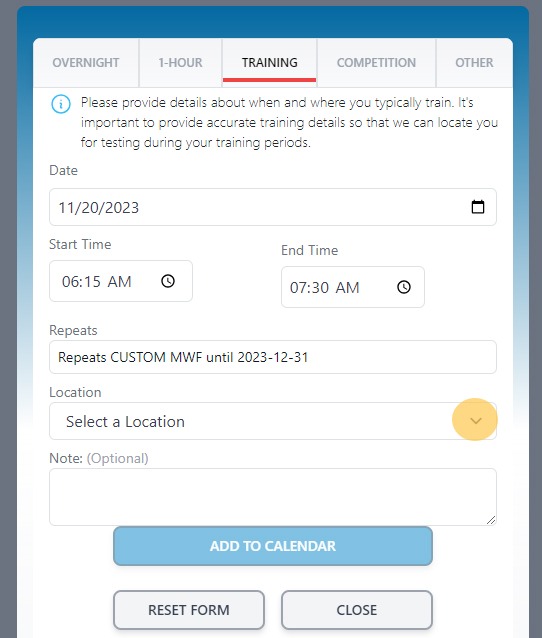
11. For a training entry, you will need to provide the start and end times.
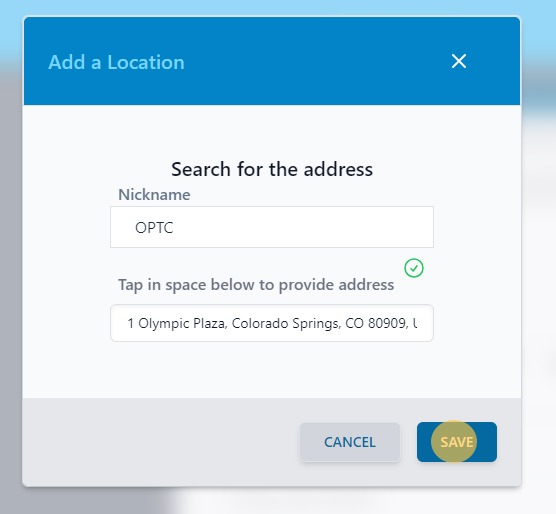
12. Enter the appropriate “Repeats” option and “Location” details.
13. If you have entered details for a new location, click the “Save” button to move forward.
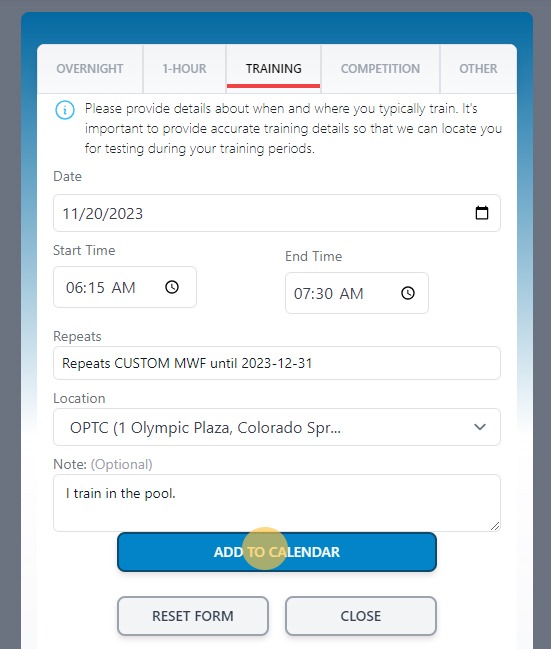
14. Be sure to add any additional information in the “Note” field. Then click the “Add to Calendar” button to save the entry to the athlete’s calendar.
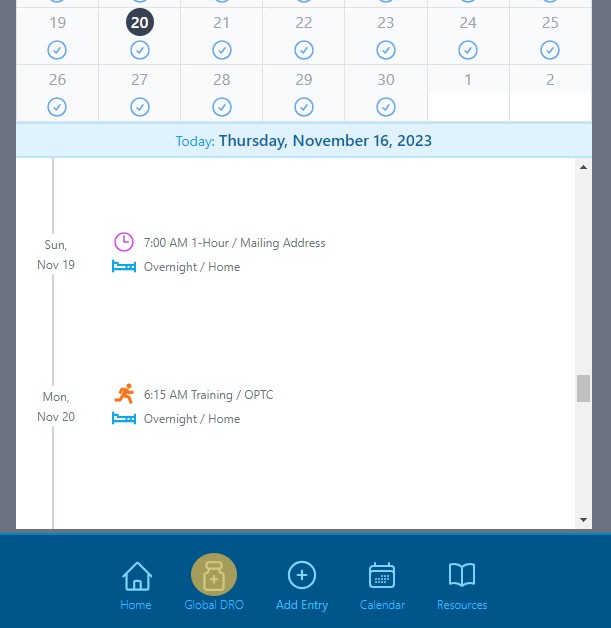
15. Check the athlete’s calendar to confirm that your entry saved. It’s important to note that you can also use the athlete’s account to check the status of medications via Global DRO.
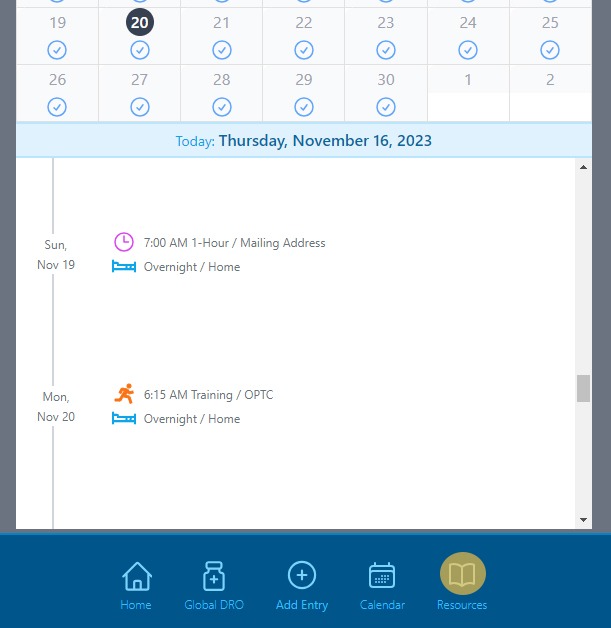
16. You can access other essential anti-doping resources using the athlete’s account too.
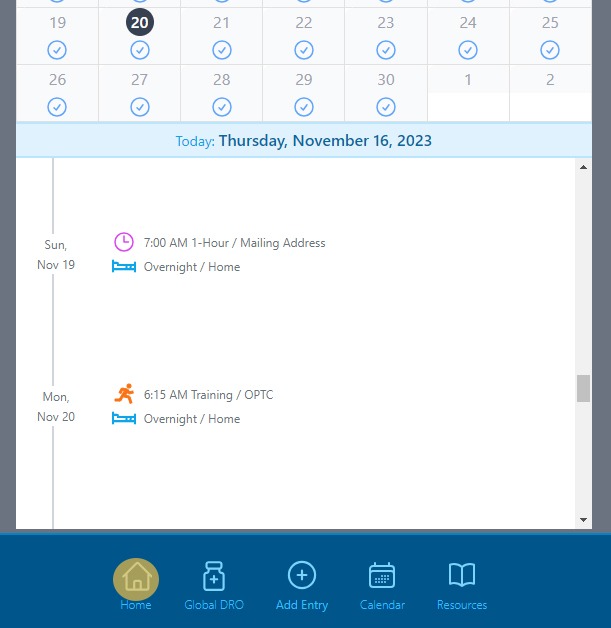
17. The “Home” button will return you to the athlete’s dashboard.
In order to work as intended, this site stores cookies on your device. By clicking “Accept All," you consent to our site providing you with a personalized service. However, you may visit "Cookie Settings" to provide a controlled consent. To learn more about the cookies we use, please read our Privacy and Cookie Policy. Cookie settingsACCEPT ALLREJECT Read our Privacy Policy
Having trouble seeing our videos? Accept all cookies to enable - Privacy & Cookies Policy
Privacy Overview
This website uses cookies to improve your experience while you navigate through the website. Out of these cookies, the cookies that are categorized as necessary are stored on your browser as they are as essential for the working of basic functionalities of the website. We also use third-party cookies that help us analyze and understand how you use this website. These cookies will be stored in your browser only with your consent. You also have the option to opt-out of these cookies. But opting out of some of these cookies may have an effect on your browsing experience.


 Search Medications & Ingredients